Hyundai Ioniq: Crash Pad / Main Crash Pad Assembly. Repair procedures
Hyundai Ioniq (AE) 2017-2025 Service Manual / Body (Interior and Exterior) / Crash Pad / Main Crash Pad Assembly. Repair procedures
| Replacement |
|

| 1. | Disconnect the negative (-) battery terminal. |
| 2. | Remove the front pillar trim (Refer to Interior Trim - "Front Pillar Trim") |
| 3. | Remove the floor console assembly. (Refer to Floor Console - "Floor Console Assembly") |
| 4. | Remove the center fascia panel. (Refer to Crash Pad - "Center Fascia Panel") |
| 5. | Remove the AVN head unit. (Refer to Body Electrical System - "AVN Head Unit") |
| 6. | Remove the crash pad garnish. (Refer to Crash Pad - "Crash Pad Garnish") |
| 7. | Remove the glove box upper cover assembly. (Refer to Crash Pad - "Glove Box Upper Cover Assembly") |
| 8. | Remove the steering wheel. (Refer to Steering System - "Steering Wheel") |
| 9. | Remove the steering column shroud lower panel. (Refer to Crash Pad - "Steering Column Shroud Panel") |
| 10. | Remove the multifunction switch assembly. (Refer to Body Electrical System - "Multifunction Switch") |
| 11. | Remove the instrument cluster. (Refer to Body Electrical System - "Instrument Cluster") |
| 12. | Using a remover, remove the photo sensor (A) and separate the photo sensor connector (B).
|
| 13. | Loosen the mounting screws and remove the center duct (A).
|
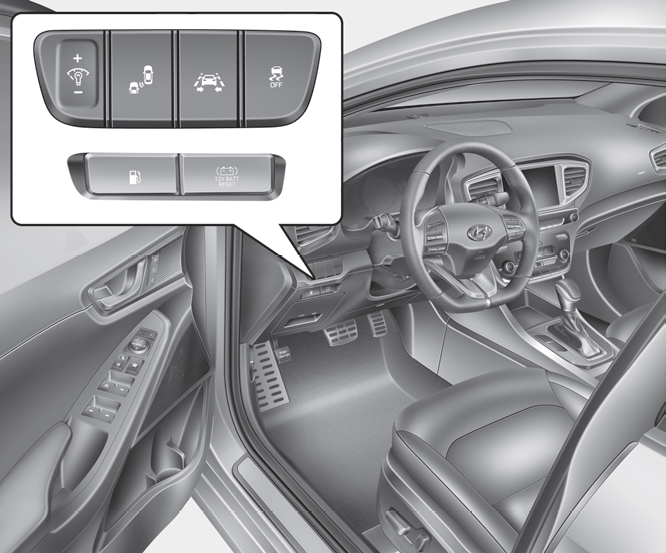
| 14. | Press the lock pin and separate the harzard switch connector (A).
|
| 15. | Loosen the mounting screws and remove the A/C & heater controller unit (A).
|
| 16. | Press the lock pin and separate the A/C & heater controller connectors (A).
|
| 17. | Loosen the mounting screws and remove the fuel panel assembly (A).
|
| 18. | Press the lock pin and separate the fuel switch connector (A).
|
| 19. | Press the lock pin and seaprate the center speaker connector (A).
|
| 20. | Loosen the passenger airbag mounting bolts (A).
|
| 21. | Loosen the mounting bolts and nuts and remove the main crash pad assembly (A).
|

| 22. | Press the lock pin and separate the passenger's airbag connectors (A).
|
| 23. | To install, reverse the removal procedure.
|


Other information:
Hyundai Ioniq (AE) 2017-2025 Service Manual: Power Seat Motor. Components and components location
C..
Hyundai Ioniq (AE) 2017-2025 Owner's Manual: Driving style, Energy flow, Engine coolant temperature
Driving style Energy flow The hybrid system informs the drivers its energy flow in various operating modes. While driving, the current energy flow is specified in 11 modes. Engine coolant temperature This gauge indicates the temperature of the engine coolant when the engine is running...
Categories
- Manuals Home
- 1st Generation Ioniq Owners Manual
- 1st Generation Ioniq Service Manual
- Temperature control
- Child-Protector Rear Door Locks
- Tilt Steering / Telescope Steering
- New on site
- Most important about car
Hybrid Vehicle Interior Overview
1. Door lock/unlock button
2. Driver position memory system
3. Side view mirror control switch
4. Central door lock switch

Copyright © 2025 www.hioniqae.com