Hyundai Ioniq (AE): With Tire Mobility Kit (TMK) - Type B / Using the Tire Mobility Kit
CAUTION
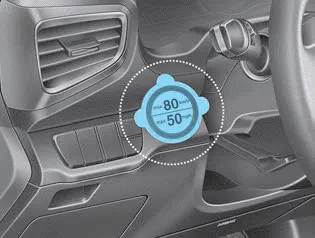
Detach the speed restriction label (1) from the sealant bottle (2), and place it in a highly visible place inside the vehicle such as on the steering wheel to remind the driver not to drive too fast.

2. Connect the filling hose (3) to the sealant bottle (2) in the direction of (A) and connect the sealant bottle to the compressor (5) in the direction of (B).
3. Ensure that the compressor is switched OFF.
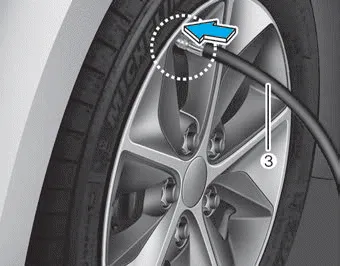
4. Unscrew the valve cap from the valve of the defective wheel and screw the filling hose (3) of the sealant bottle onto the valve.
CAUTION
Securely install the sealant filling hose to the valve. If not, sealant may flow backward, possibly clogging the filling hose.

5. Plug the compressor power cord (4) into the vehicle power outlet.
6. With the vehicle ON ( indicator
ON), switch on the compressor and let it run for approximately 5~7 minutes to fill
the sealant up to proper pressure. (refer to the Tire and Wheels, chapter 8). The
inflation pressure of the tire after filling is unimportant and will be checked/corrected
later. Be careful not to overinflate the tire and stay away from the tire when filling
it.
indicator
ON), switch on the compressor and let it run for approximately 5~7 minutes to fill
the sealant up to proper pressure. (refer to the Tire and Wheels, chapter 8). The
inflation pressure of the tire after filling is unimportant and will be checked/corrected
later. Be careful not to overinflate the tire and stay away from the tire when filling
it.
CAUTION
Do not attempt to drive your vehicle if the tire pressure is below 29 psi (200 kpa). This could result in an accident due to sudden tire failure.
7. Switch off the compressor.
8. Detach the hoses from the sealant bottle connector and from the tire valve.
Return the Tire Mobility Kit to its storage location in the vehicle.
WARNING
Do not the filling leave your vehicle running in a poorly ventilated area for extended periods of time. Carbon monoxide poisoning and suffocation can occur.
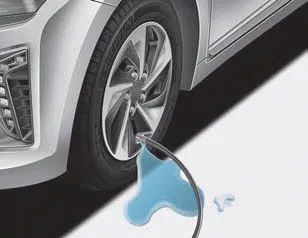
Distributing the sealant
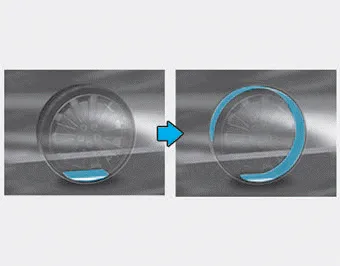
9. Immediately drive approximately 4~6 miles (7~10 km or about 10 minutes) to evenly distribute the sealant in the tire.
Do not exceed a speed of 50 mph (80 km/h). If possible, do not fall below a speed of 12 mph (20 km/h). While driving, if you experience any unusual vibration, ride disturbance or noise, reduce your speed and drive with caution until you can safely pull off of the side of the road.
1. Speed restriction label 2. Sealant bottle and label with speed restriction 3. Filling hose from sealant bottle to wheel 4. Connectors and cable for power outlet direct connection 5.
1. After driving approximately 4~6 miles (7~10 km or about 10 minutes), stop at a safe location. 2. Connect the filling hose (3) directly into the compressor.
Other information:
Hyundai Ioniq (AE) 2017-2022 Service & Repair Manual: Auto Defoging Actuator. Repair procedures
Inspection1.Turn the ignition switch OFF. 2.Disconnect the auto defogging connector. 3.Verify that the auto defogging actuator operates to the open position when connecting 12V to terminal 3 and grounding terminal 4. Verify that the auto defogging actuator operates to the close position when connected in reverse.
Hyundai Ioniq (AE) 2017-2022 Service & Repair Manual: Description and operation
Cruise ControlThe cruise control system is engaged by the cruise "ON/OFF" main switch located on right of steering wheel column. The system has the capability to cruise, coast, accelerate and resume speed.It also has a safety interrupt, engaged upon depressing brake or shifting select lever.
Categories
- Manuals Home
- Hyundai Ioniq Owners Manual
- Hyundai Ioniq Service Manual
- Checking the Coolant Level
- Hybrid Control System
- Hybrid Vehicle Engine Compartment
- New on site
- Most important about car
