Hyundai Ioniq: Clutch System / Clutch Cover And Disc. Repair procedures
| 1. | Remove the hybrid motor assembly. (Refer to Hybrid Motor System - "Hybrid Motor Assembly") |
| 2. | Remove the clutch cover assembly and clutch disc after loosening the bolts. | •
| Be careful not to be bent or twist bolts. Loosen bolts in diagonal directions. |
|

|
| 1. | Inspect diaphragm spring wear which is in contact with a concentric slave cylinder bearing. |
| 2. | Check the clutch cover and disc surface for wear or cracks. |
| 3. | Check the clutch disc lining for slipping or oil marks. |
| 4. | Measure the depth from a clutch lining surface to a rivet. If the measured value is less than the specification below, replace it. Clutch disc rivet depth (A): 0.3 mm (0.0118 in.) |

|
| •
| If reinstalling used cover, the cover should be installed with its clutch disc as a set. |
| •
| If you only replace a disk, the adjustment ring may malfunction, resulting in a slip due to the initial decrease of clamp load. (This is because the clutch cover is adjusted by as much as the amount of its wear.) |
| •
| If you only replace a disk, the disk may exceed its acceptable thickness for assembly, making it difficult to block the driving force. |
|
| 1. | Apply grease on a disc spline part and hybrid motor input shaft spline part as required. Specified grease: CASMOLY L9508 Amount: 0.2 g |
Possible problems when not following | •
| When not applying: Excessive wear of splines and bad clutch operation can occur. |
| •
| When excessively applying: Grease can be scattered by centrifugal force which can contaminate the clutch disc. This can cause a loss of friction force causing a slip. |
|

|
| 2. | Install the clutch disc and the cover with SST (09411-1P000, 09411-G2100) 
|
| 3. | Install the clutch cover bolts. Not to be bent or twisted, Tighten them in diagonal directions. Tightening torque : 11.8 - 14.7 N.m (1.2 - 1.5 kgf.m, 8.7 - 10.8 lb-ft) |
| •
| Loosely tighten every clutch cover bolts, then torque to specifications in a diagonal direction. This can prevent twisting, vibration of the cover, and the lifting of the pressure plate. |
| •
| Install the all the components with the specified torques. If not, the clutch torque transmission may have concerns or the mounting bolt can loosen. |
|

|
| 4. | Install the hybrid motor assembly. (Refer to Hybrid Motor System - "Hybrid Motor Assembly") |
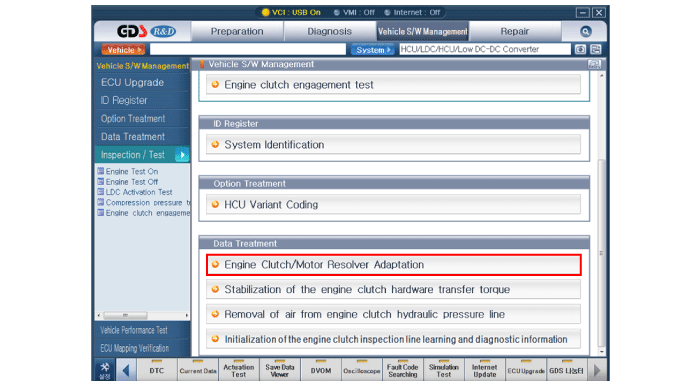
| 5. | After replacing the Engine clutch actuator, operate the followings in order using GDS equipment. | (1) | Engine clutch inspection line learning and diagnostic information. 
|
| (2) | Removal of air from engine clutch hydraulic pressure line. | •
| When using a vacuum-pressure equipment to inject hydraulic fluid, the vacuum pressure should be no more than 2.5 torr and the injection pressure should be between 2.3 - 2.5 bars. |
| •
| If it is impossible to inject hydraulic fluid using the above condition, be sure to remove air from the hydraulic line of the engine clutch at a temperature between 0 - 40°C. |
|

|
| (3) | Engine clutch/motor resolver adaptation. 
|
| (4) | Stabilization of the engine clutch hardware transfer torque. 
|
|
Other information:
S..
Replacement
•
Put on gloves to prevent hand injuries.
•
When removing with a flat-tip screwdriver or remover, wrap protective tape around the tools to prevent damage to components...
Categories

Adjusting the side mirrors:
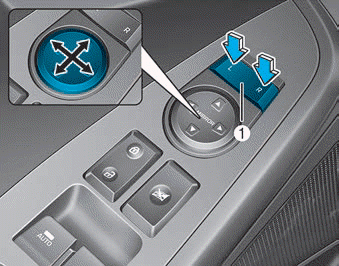
1. Press either the L (driver's side) or R (passenger's side) button (1) to select
the side view mirror you would like to adjust.
read more


