Hyundai Ioniq: Interior Trim / Cowl Side Trim. Repair procedures
Hyundai Ioniq (AE) 2017-2025 Service Manual / Body (Interior and Exterior) / Interior Trim / Cowl Side Trim. Repair procedures
| Replacement |
|

|

| 1. | Remove the front door scuff trim. (Refer to Interior Trim - "Door Scuff Trim") |
| 2. | Remove the hood latch release handle. (Refer to Hood - "Hood Latch Release Handle") |
| 3. | Carefully remove the front door body side weatherstrip. |
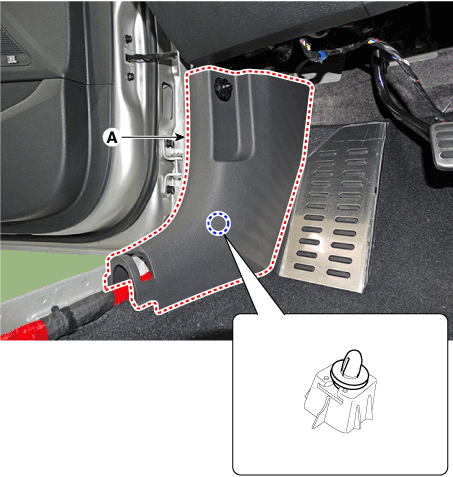
| 4. | Using a screwdriver or remover, remove the cowl side trim (A).
|
| 5. | To install, reverse the removal procedure.
|


Other information:
Hyundai Ioniq (AE) 2017-2025 Service Manual: Intake Actuator. Repair procedures
Inspection1.Turn the ignition switch OFF.2.Disconnect the intake actuator connector.3.Verify that the intake actuator operates to the fresh position when connecting 12V to terminal 3 and grounding terminal 4.Verify that the intake actuator operates to the recirculation position when connected in reverse...
Hyundai Ioniq (AE) 2017-2025 Service Manual: Electric Water Pump(EWP). Description and operation
Description• Function : It circulates the coolant for the hybrid system (HPCU, drive motor, and HSG).• Operating Principles: When the coolant temperature exceeds the limit set in the MCU in the hybrid system, the motor control unit (MCU) sends a command to the electric water pump (EWP) through the CAN communication to operate the EWP...
Categories
- Manuals Home
- 1st Generation Ioniq Owners Manual
- 1st Generation Ioniq Service Manual
- Tilt Steering / Telescope Steering
- Check brakes/Check regenerative brakes, Check Virtual Engine Sound System
- Theft-alarm System
- New on site
- Most important about car
Seat Belt Warning Light
Seat belt warning light
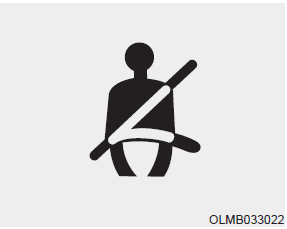
As a reminder to the driver, the seat belt warning light will illuminate and warning chime will sound for approximately 6 seconds each time you place the Engine Start/Stop button to the ON position if the seat belt is unfastened.

Copyright © 2025 www.hioniqae.com