Hyundai Ioniq: Interior Trim / Rear Wheel House Trim. Repair procedures
Hyundai Ioniq (AE) 2017-2025 Service Manual / Body (Interior and Exterior) / Interior Trim / Rear Wheel House Trim. Repair procedures
| Replacement |
|

|

| 1. | Remove the rear seat cushion assembly. (Refer to Rear Seat - "Rear Seat Assembly") |
| 2. | Remove the rear seat back assembly. (Refer to Rear Seat - "Rear Seat Assembly") |
| 3. | Slighty remove the rear door weatherstrip. |
| 4. | Remove the rear door scuff trim. (Refer to Interior Trim - "Door Scuff Trim") |
| 5. | Using a screwdriver or remover, remove the rear wheel house trim (A).
|
| 6. | To install, reverse the removal procedure.
|


 Trunk Trim
..
Other information:
Hyundai Ioniq (AE) 2017-2025 Service Manual: Schematic diagrams
S..
Hyundai Ioniq (AE) 2017-2025 Service Manual: Heater Unit. Repair procedures
Replacement When prying with a flat-tip screwdriver or use a prying trim tool, wrap it with protective tape, and apply protective tape around the related parts, to prevent damage.1.Disconnect the negative (-) battery terminal.2.Recover the refrigerant with a recovery / recycling / charging station...
Categories
- Manuals Home
- 1st Generation Ioniq Owners Manual
- 1st Generation Ioniq Service Manual
- Auto Door Lock/Unlock Features
- Check Hybrid system, Check Hybrid system. Turn engine Off
- Immobilizer System
- New on site
- Most important about car
Seatback pocket
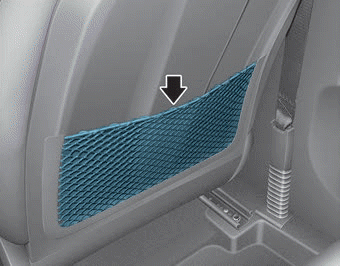
The seatback pocket is provided on the back of the front passenger's seatback.
WARNING
To prevent the Occupant Classification System from malfunctioning:

Copyright © 2025 www.hioniqae.com