Hyundai Ioniq: Engine Mechanical System / Repair procedures
| Compression Pressure Inspection |
| •
| If there is lack of power, excessive oil consumption or poor fuel economy, measure te compression pressure. |
|
| 1. | Warm up and stop engine. Allow the engine to warm up to normal operating temperature. |
| 2. | Remove the air cleaner assembly. (Refer to Intake and Exhaust System - "Air Cleaner") |
| 3. | Remove the ignition coils. (Refer to Engine Electrical System -"Ignition Coil") |
| 4. | Remove the spark plugs. (Refer to Engine Electrical System -"Spark Plug") |
| 5. | Check the cylinder compression pressure. | (1) | Insert a compression gauge into the spark plug hole. 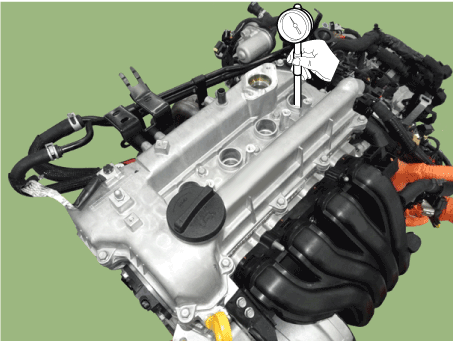
|
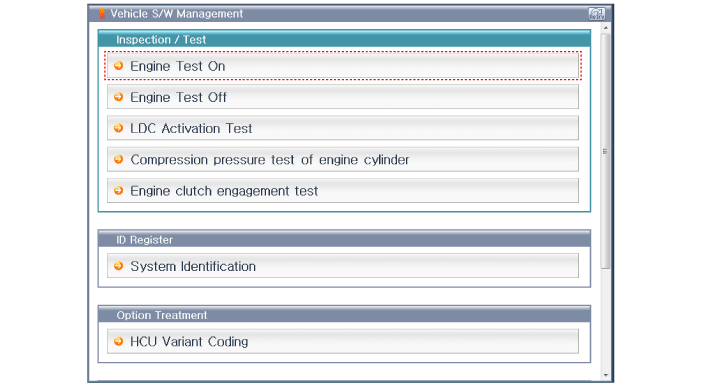
| (2) | Attach the GDS | –
| Connect the cable of GDS to the data link connector. |
| –
| Select the vehicle model and then the HCU system. |
| –
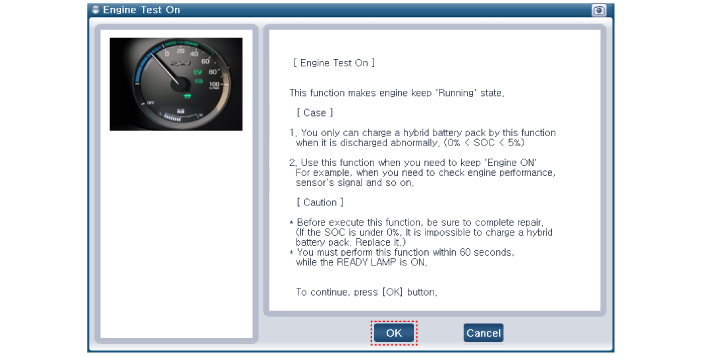
| Select the "Engine On Test". See the screens below. |
|
| (3) | While cranking the engine, measure the compression pressure. | –
| With the Brake pedal depressed, press the Start/Stop Button (SSB) one time. |
| –
| If the engine cranks, let it crank about 8 to 10 cycles (until the gauge readings stabilizes) then press the SSB one time to stop the engine from cranking. |
| –
| If the engine does not crank on its own when the SSB is pressed, the GDS should be used to crank the engine. While in the "Engine On Test" follow the instruction on the screen. |
| –
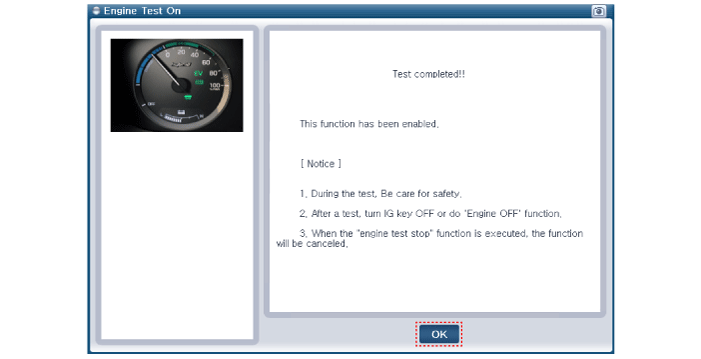
| The "Engine On Test" will start the engine cranking. After the compression readings stabilize (8-10 cycles), press the SSB one time to stop the cranking. |

|
| (4) | Repeat step (1) through (2) for each cylinder. | •
| This measurement must be done in as short atime as possible. |
|
Compression pressure : 0,981 kPa (10.0 kg/cm², 142.2 psi) / 300 - 350 rpm Minimum pressure : 0,834 kPa (8.5 kg/cm², 120.9 psi) / 300 - 350 rpm Difference between each cylinder : 98 kPa (1.0 kg/cm², 14 psi) or less |
|
| (5) | If the cylinder compression in 1 or more cylinders is low, pour a small amount of engine oil into the cylinder through the spark plug hole and repeat step (1) through (2) for cylinders with low compression. | •
| If adding oil helps the compression, it is likely that the piston rings and/or cylinder bore are worn or damaged. |
| •
| If pressure stays low, a valve may be sticking or seating is improper, or there may be leakage past the gasket. |
|
|
| 6. | Reinstall the spark plugs. Tightening torque : 14.7 - 24.5 N.m (1.5 - 2.5 kgf.m, 10.8 - 18.1 lb-ft) |
|
| 7. | Install the ignition coil. Tightening torque : 9.8 - 11.8 N.m (1.0 - 1.2 kgf.m, 7.2 - 8.7 lb-ft) |
|
| 8. | Connect the ignition coil connectors and injector connectors. |
| 9. | Some DTC's may exist after the inspection test and may need to be manually cleard with GDS. |
Specifications
Description
Specification
Limit
General
TypeIn-line, DOHC Number of cylinders4 Bore72...
Troubleshooting
Symptom
Suspect area
Remedy
Engine misfire with abnormal internal lower engine noises...
Other information:
C..
C..
Categories
Air bag warning labels, required by the U.S. National Highway Traffic Safety
Administration (NHTSA), are attached to alert the driver and passengers of potential
risks of the air bag system. Be sure to read all of the information about the air
bags that are installed on your vehicle in this Owners Manual.
read more

 Specifications
 Troubleshooting