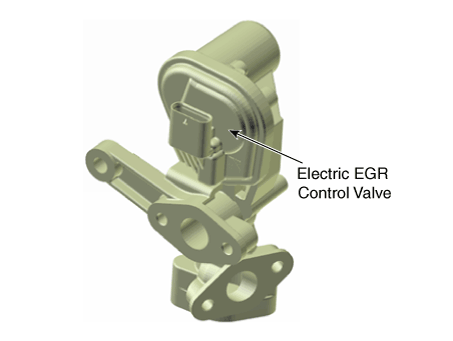
Hyundai Ioniq: Electric EGR Control Valve / Repair procedures
Hyundai Ioniq (AE) 2017-2025 Service Manual / Engine Control/Fuel System / Engine Control System / Electric EGR Control Valve / Repair procedures
| Inspection |
[Motor]
| 1. | Turn the ignition switch OFF. |
| 2. | Disconnect the EEGR valve connector. |
| 3. | Check that the EEGR valve is stuck by foreign material. |
| 4. | Measure resistance between motor 1 and 3 control terminals of the motor. |
| 5. | Check that the resistance is within the specification. |
▷ Specification
| Item | Specification |
| Coil Resistance (Ω) | 2.37 - 2.7 |
[Feedback Position Sensor]
| 1. | Connect the GDS to the data link connector. |
| 2. | Perform the fully open and the fully closing operation of the EEGR valve by using the actuation test. |
| 3. | Check that the voltage is within the specification |
▷ Specification
| Item | Specification |
| Opened Voltage (V) | 0.7 - 1.3 |
| Closed Voltage (V) | 3.9 - 4.5 |
| Removal |
| 1. | Turn the ignition switch OFF and disconnect the battery negative (-) cable. |
| 2. | Remove the air cleaner assembly (Refer to Engine Mechanical System - "Air Cleaner") |
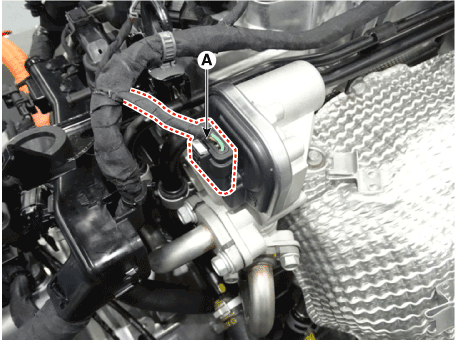
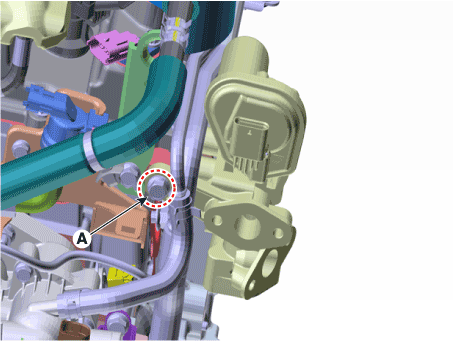
| 3. | Disconnect the EEGR control valve connector (A).
|
| 4. | Remove the EGR cooler pipe. (Refer to Engine Mechanical System - "EGR Cooler") |
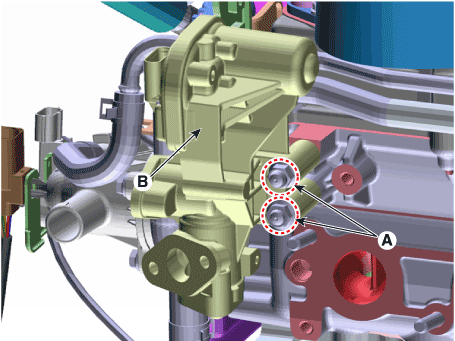
| 5. | Remove the EEGR control valve (B) after removing the mounting bolt and nut (A).
|
| Installation |
|
| 1. | Turn the ignition switch OFF. |
| 2. | Connect the GDS to Data Link Connector (DLC). |
| 3. | Turn ignition switch ON. |
| 4. | Select "Vehicle, Model year, Engine, System". |
| 5. | Select "Vehicle S/W Management". |
| 6. | Select "Component Change Routine". |
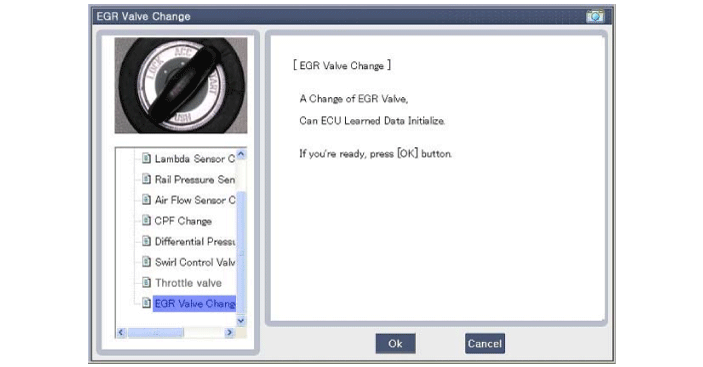
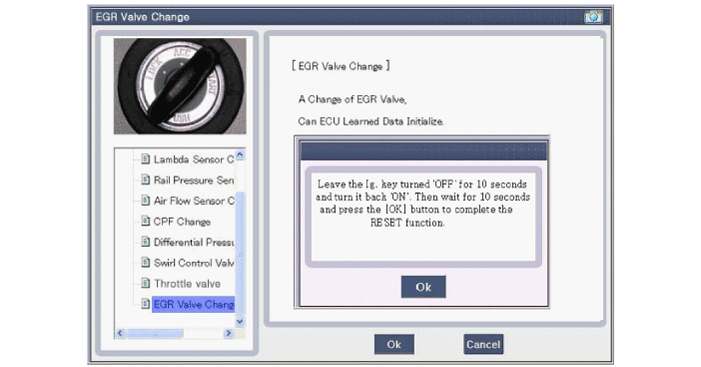
| 7. | Select "EGR Valve Change". |
| 8. | Perform the procedure in accordance with the message
|
Other information:
Hyundai Ioniq (AE) 2017-2025 Owner's Manual: Tire Loading Information Label
■ 15 inch tire - Type A ■ 15 inch tire - Type B ■ 16 inch tire ■ 17 inch tire - Type A ■ 17 inch tire - Type B The label located on the driver's door sill gives the original tire size, cold tire pressures recommended for your vehicle, the number of people that can be in your vehicle and vehicle capacity weight...
Hyundai Ioniq (AE) 2017-2025 Service Manual: Tailgate Glass Lower Glass. Repair procedures
Removal • Put on gloves to prevent hand injuries. • Use seat covers to avoid damaging any surfaces.1.Remove the tailgate trim.(Refer to Tailgate - "Tailgate Trim")2...
Categories
- Manuals Home
- 1st Generation Ioniq Owners Manual
- 1st Generation Ioniq Service Manual
- Coasting Guide (Plug-in hybrid vehicle)
- Child-Protector Rear Door Locks
- Folding the side view mirrors
- New on site
- Most important about car
Seat Belt Warning Light
Seat belt warning light
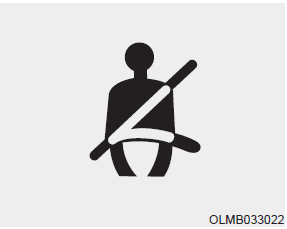
As a reminder to the driver, the seat belt warning light will illuminate and warning chime will sound for approximately 6 seconds each time you place the Engine Start/Stop button to the ON position if the seat belt is unfastened.
Copyright © 2025 www.hioniqae.com

