Hyundai Ioniq: Windshield Wiper/Washer / Windshield Wiper-Washer Switch. Repair procedures
Hyundai Ioniq (AE) 2017-2025 Service Manual / Body Electrical System / Windshield Wiper/Washer / Windshield Wiper-Washer Switch. Repair procedures
| Removal |
| 1. | Disconnect the negative (-) battery terminal. |
| 2. | If it is necessary to remove multifunction switch assembly, remove the steering wheel. (Steering System - "Steering Wheel") |
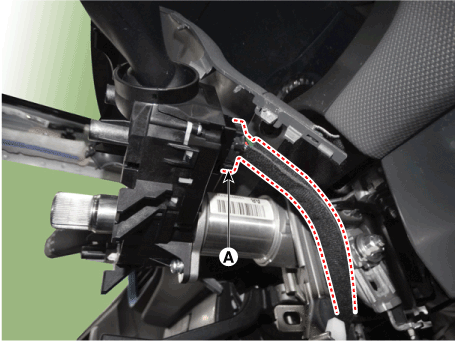
| 3. | Remove the steering column upper shrouds (A). (Refer to Body - "Steering Column Shroud Panel") |
| 4. | Remove the clock spring. (Refer to Restraint - "Driver Airbag (DAB) Module and Clock Spring") |
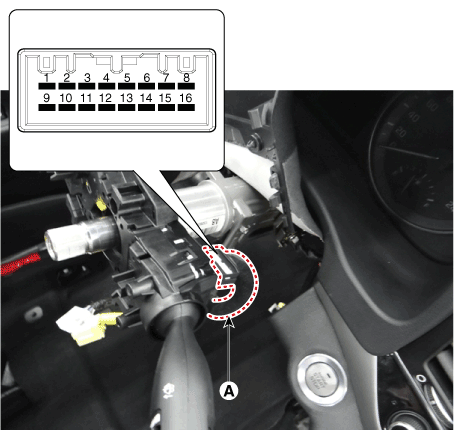
| 5. | Disconnect the multifunction switch connector (A).
|
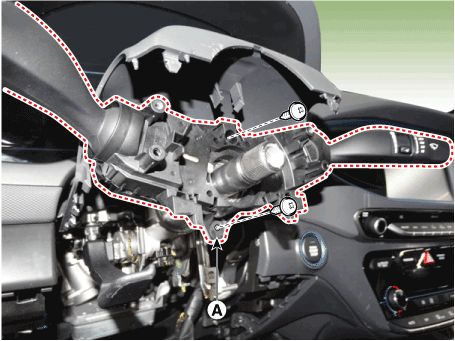
| 6. | Loosen the screws (2EA) from the multifunction switch assembly (A).
|
| Installation |
| 1. | Install the multifunction switch. |
| 2. | Install the clock spring and steering wheel. |
| 3. | Install the steering column upper and lower shrouds. |
| 4. | Install the steering wheel. |
| Inspection (with GDS) |
| 1. | When each switch is pressed, check the electricity flow between multi-function switch connector and grounding, and if the electricity does not match the specification, replace the switch.
|
| 2. | The body electrocal system can be quickly diagnosed failed parts with vehicle diagnostic system (GDS). The diagnostic system (GDS) provides the following information.
|
| 3. | Select the "Car Model" and the system to be checked in order to check the vehicle with the tester. |
| 4. | Select the "Body Control Module (BCM)" to check the Body Control Module (BCM). |
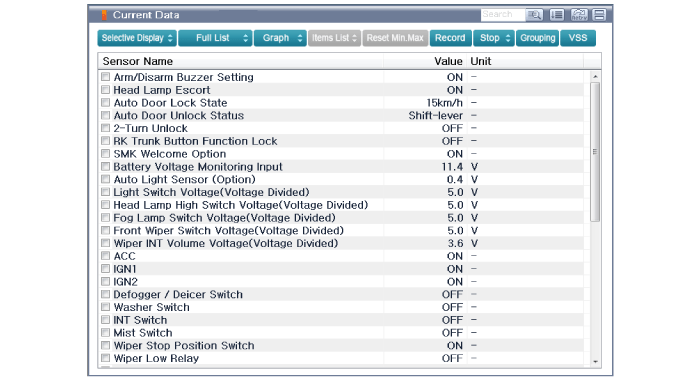
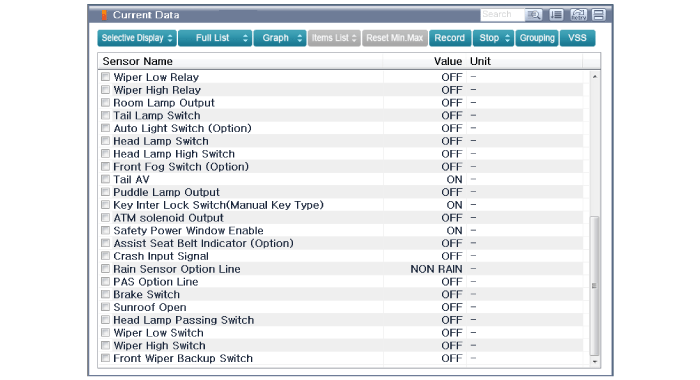
| 5. | Select the "Current Data" menu to search the current state of the input/output data. The input/output data for the sensors corresponding to the Body Control Module (BCM) can be checked.
|
 Components and components location
Component Location1. Windshield wiper arm & blade2. Wiper & washer switch3. Windshield washer hose & nolzzle4. Washer motor & linkage assembly5...
Other information:
Hyundai Ioniq (AE) 2017-2025 Service Manual: Oil Pan. Repair procedures
Removal1.Disconnect the battery negative terminal.2.Remove the engine room under cover.(Refer to Engine and Transaxle Assembly - "Engine Room Under Cover")3.Drain engine oil.(Refer to Lubrication System - "Engine Oil")4.Remove the oil pan (A).Insert the blade of SST (09215-3C000) between the ladder frame and the oil pan...
Hyundai Ioniq (AE) 2017-2025 Service Manual: TPMS Sensor. Description and operation
Description 1.General descriptionWU is a sensor placed in the tire that reports pressure and temperature.The WU is mounted inside the wheels, fixed to the valve. The angle between the valve and the housing of the WU is variable.This allows adaptation to various types of rims...
Categories
- Manuals Home
- 1st Generation Ioniq Owners Manual
- 1st Generation Ioniq Service Manual
- How to Disconnect Normal Charger
- Jump Starting
- Washer Fluid
- New on site
- Most important about car
Seat Belt Warning Light
Seat belt warning light
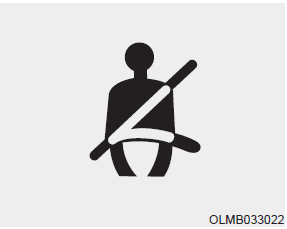
As a reminder to the driver, the seat belt warning light will illuminate and warning chime will sound for approximately 6 seconds each time you place the Engine Start/Stop button to the ON position if the seat belt is unfastened.
Copyright © 2025 www.hioniqae.com

